
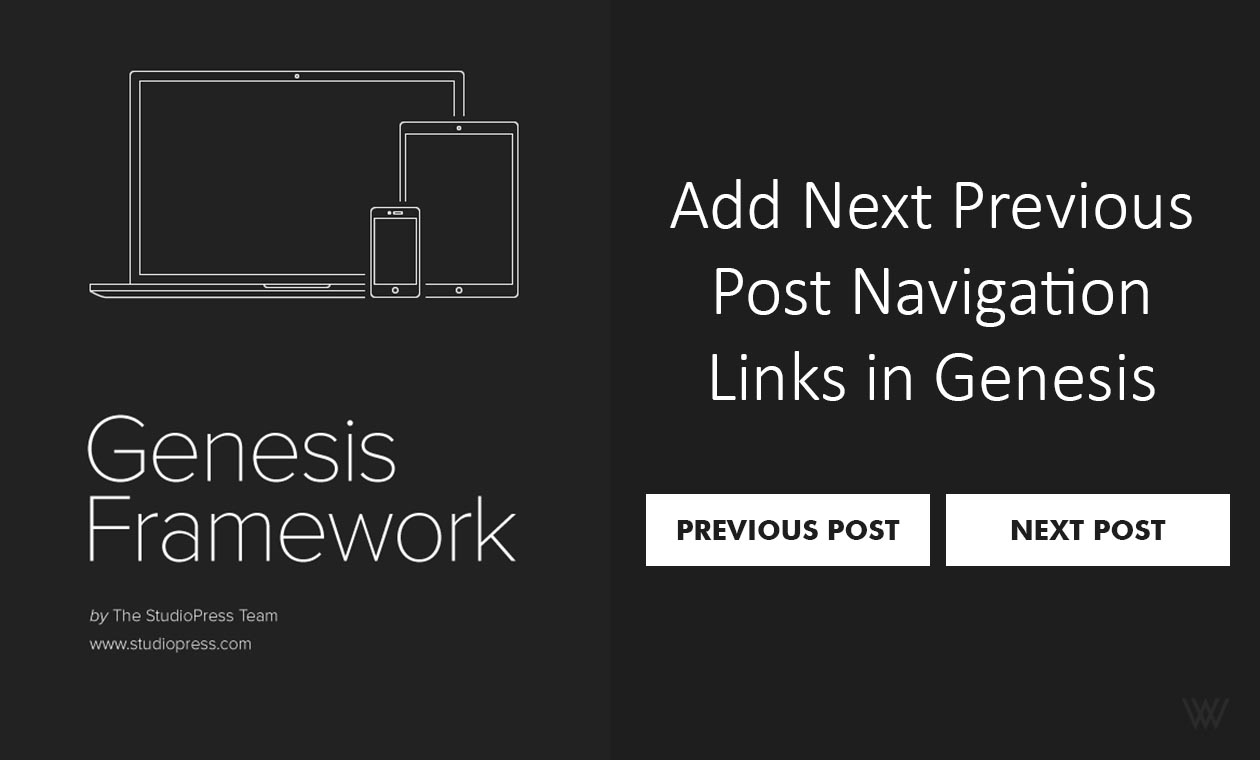
How to Add Next Previous Post Navigation Links in Genesis
Are you looking to add next previous post navigation links in Genesis? Many other brand themes include this feature by default. But if you are using Genesis Child themes, you need to customize your function.php file. In this tutorial, I am ...
2 min read
Are you looking to add next previous post navigation links in Genesis? Many other brand themes include this feature by default. But if you are using Genesis Child themes, you need to customize your function.php file. In this tutorial, I am ...
- Add Next Previous Post Navigation Links in Genesis Child Theme
Are you looking to add next previous post navigation links in Genesis? Many other brand themes include this feature by default. But if you are using Genesis Child themes, you need to customize your function.php file.
In this tutorial, I am going to use a couple of lines of code snippet that will help us add next previous post navigation links in Genesis child theme.
Thereafter, I will show you how to style your post navigation links using cascading stylesheet (CSS).
Add Next Previous Post Navigation Links in Genesis Child Theme
In order to implement this, open functions.php file of your Genesis child theme and add the following code:
The code above positions the next previous post navigation links in Genesis right before the Comments section. You can use the Genesis hook, as long as it makes sense, to place it anywhere on the single post you’d like.
Style The Next/Previous Post Links
Copy and paste the CSS code below in style.css file of the Genesis child theme:
.prev_next
 {
     overflow: auto;
     margin: 10px 0;
     padding: 5px 0;
 }
 .prev_next span.next
 {
     background-color: #333;
     padding: 10px;
     font-weight:700;
     text-transform:uppercase;
     display: block;
     margin-bottom: 5px;
 }
 .prev_next span.prev
 {
     background-color: #333;
     padding: 10px;
     font-weight:700;
     text-transform:uppercase;
     display: block;
     margin-bottom: 5px;
 }
 .prev_next a
 {
     text-decoration: none;
 }
 .prev_next a:hover
 {
     text-decoration: underline;
     font-weight: 600;
 }
 .nav_left
 {
     width: 50%;
     float: left;
 }
 .nav_right
 {
     width: 50%;
     float: right;
     text-align: right;
 }
If you are adding these next previous post navigation links in live mode, you can also use your browser’s Developer Tools option to inspect and style your links.
Moreover, if you don't want to modify the functions.php file, you can download a WordPress plugin called My Custom Functions. You just need to install and activate the plugin to get started.
My Custom Functions Plugin is easy to use, an intuitive WordPress plugin that gives you control over the custom PHP code. With just a few clicks, you can safely add your custom PHP code to your WordPress website without having to modify your functions.php file.
Here are the steps:
1. Navigate to the WordPress plugins repository, search and download "My Custom Function" plugin.

2. Navigate to the Settings » PHP Inserter

3. Enter the PHP code » Turn on custom code functions and click save.

Other Genesis Related Posts
So that’s it for now! I hope you will find this tutorial useful to add a little custom feel to your site.
Website Vidya Team
Technology educator and researcher at Website Vidya.
Related Technical Guides
Tested runbooks, server administration walkthroughs, and troubleshooting guides

How to Install Python and Pip on Ubuntu 24.04 LTS
Python is one of the most popular, versatile, and widely-used programming languages today, underpinning everything from web development and automation to data science and artificial intelligence. Pip is Python’s official package manager, al...

How to Install Python on Ubuntu 24.04 LTS
Python is one of the most popular programming languages today, widely used in web development, data science, machine learning, automation, and more. Ubuntu 24.04 LTS (Long Term Support) comes with Python pre-installed, but often you might w...

How to Install Ruby on Rails on Ubuntu: 8 Easy Steps
Ruby on Rails, often simply referred to as Rails, is a powerful web application framework written in Ruby. It is designed to make programming web applications easier by making assumptions about what every developer needs to get started. If ...
How to Install Next.js in Ubuntu 24.04: 5 Easy Steps
Next.js is a powerful React framework that enables developers to build server-side rendering (SSR) and static web applications with ease. It offers a rich set of features, including automatic code splitting, optimized performance, and seaml...

How to Convert JSON to CSV in Python Using Pandas: 4 Easy Steps
In this article, we'll explore how to convert JSON to CSV in Python using Pandas . In the world of data processing and analysis, JSON (JavaScript Object Notation) and CSV (Comma-Separated Values) are two of the most commonly used formats fo...

How to Fix 415 Unsupported Media Type: 6 Easy Steps
The HTTP status code 415 Unsupported Media Type is a client-side error that occurs when the server refuses to accept a request because the media type of the request's payload is not supported. This error is common in web development, especi...

How to Fix 411 Length Required Error: 6 Easy Steps
The 411 Length Required error is an HTTP response status code that indicates a request is missing the Content-Length header. This error typically occurs in POST or PUT requests when a web server requires a specific length for the request bo...
How to Convert HTML to PDF in Java: 3 Easy Steps
Converting HTML to PDF is a common requirement in many Java applications, such as generating reports, invoices, or any other printable documents. PDFs are universally accepted and provide a professional look for documents. This article will...

How to Read and Write JSON Files in Python: 2 Easy Steps
JSON (JavaScript Object Notation) is a lightweight, text-based format for data interchange. Its simplicity and compatibility with various programming languages make it a popular choice for storing and exchanging data. In Python, the json mo...
How To Convert HTML To PDF In Python: 2 Easy Steps
Converting HTML files to PDF is a common requirement for developers working on applications that involve reports, invoices, or any content rendering. Python, with its robust libraries, provides seamless ways to achieve this. This article wi...
Discussion
0No comments on this guide yet. Be the first to share your thoughts or ask a question!