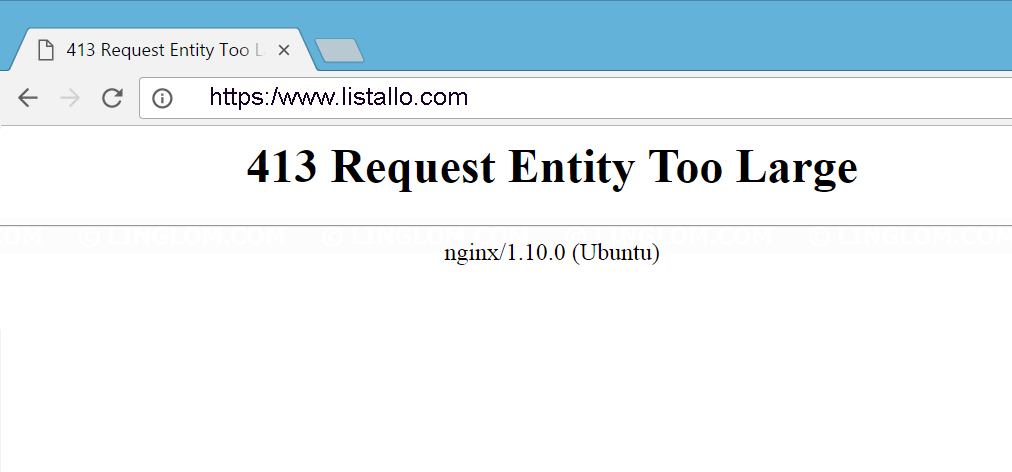
What does 413 Request Entity Too Large Nginx Error Mean?
A 413 Request Entity Too Large Nginx Error occurs when a request made on a client-side by the visitor or user is too large to be processed by the web server. If you have set your web server to a particular HTTP request size limit, the client may experience 413 Request Entity Too Large error.

Such error mostly occurs during file upload. I came to know about this error while working on my client’s WordPress based website. I tried to upload a WordPress theme that was approximately 29MB in size.
Fixing 413 Request Entity Too Large Errors
To fix the 413 Request Entity Too Large Error, you need to implement some necessary changes described below. By doing so, you can adjust the threshold file size for which a client or your user is allowed to upload. If the client tries to upload file size above threshold file size, the server will throw the 413 Request Entity Too Large Error. The configuration varies for both Nginx and Apache web server. You can implement the changes depending upon which web server you use.
Nginx Configuration
To fix the issue, you need to edit the nginx.conf file.
All that you need is to open the terminal and type the following command to edit the Nginx configuration file using your favourite editor. In my case, I’m using Vim.
Using Vim editor:
sudo vim /etc/nginx/nginx.conf
Using nano editor
sudo nano /etc/nginx/nginx.conf
Now add the following line to HTTP or server block to increase threshold file size in nginx.conf, enter:
#set client body size to 2M #
client_max_body_size 30M;
This what your configuration file will look like after you add the necessary changes:
http {
     include       mime.types;
     default_type  application/octet-stream;
     sendfile        on;
     keepalive_timeout  65;

    server {
        client_max_body_size 20M;
        listen       80;
        server_name  localhost;

        # Main location
        location / {
            proxy_pass         http://127.0.0.1:8000/;
        }
    }
 }
Now reload the Nginx web server by running the following command:
sudo service nginx reload
You can also check NGINX modules for the reference.
Apache Configuration
Just like the Nginx web server client_max_body_size directive, apache web server have LimitRequestBody directive.
You can adjust it by editing the http.conf or .htaccess file.
By default, the value of the directive in Apache is set to 0. However, you may set this value to whatever number you like.
For example, if you wanted to restrict requests larger than 100MB, convert MB into bytes and add the directive value like shown below.
LimitRequestBody 104857600
Similarly, if you want to restrict requests larger than 30MB, add directive value to 31457280.
LimitRequestBody 31457280
Additional Configuration – PHP Users
If you are running PHP on your server, you might also want to adjust PHP settings. Your PHP installation also put a maximum upload size limit on client-side.
To adjust the configuration, you need to edit the php.ini file. The location of the php.ini file varies depending on which operating server are you using and what version of PHP you have installed on your server. In my case, I am using PHP7 on Ubuntu Server 18.04 LTE. So, to edit the php.ini file run the following command:
sudo vim /etc/php/7.0/fpm/php.ini
;This sets the maximum amount of memory in bytes that a script is allowed to allocate
memory_limit = 32M
;The maximum size of an uploaded file.
upload_max_filesize = 30M
;Sets max size of post data allowed. This setting also affects file upload.
To upload large files, this value must be larger than upload_max_filesize
post_max_size = 3M
Now restart the PHP-FPM using any one of the following commands:
sudo systemctl restart php-fpm
or
sudo systemctl restart php7.0-fpm.service
or
sudo /usr/local/etc/rc.d/php-fpm restart
That’s it! This should help you understand and resolve the 13 Request Entity Too Large Nginx Error.
You might also want to check some other fixes:
- Error Establishing a Database Connection in WordPress Fix
- Fix 502 Bad Gateway Nginx Error in Ubuntu
- Fix: 504 Gateway Timeout Nginx Error
- PHP5-FPM 502 Bad Gateway Error (connect() to unix:/var/run/php5-fpm.sock failed (2: No such file or directory)
- Your PHP installation appears to be missing the MySQL extension which is required by WordPress
If you are still facing any difficulty, ask it in the comment section.


 How to Install MongoDB on Ubuntu 18.04 LTE
Acá encontré lo que realmente me ayudo a resolver el problema a mi.
https://serverfault.com/questions/79741/php-apache-post-limit/79745#79745
Thank you for sharing this with us!