Django is a full-featured web development framework written in python for developing websites and applications. It is a free and open-source framework that follows the MVC (Model-View-Controller) framework. The framework is designed to help developers get their website and application online as quick as possible. In this guide, we will learn how to install Django on Ubuntu in three different ways:
Methods to Install Django on Ubuntu
Global install from packages: In this method, the Django packages can be installed from the official Ubuntu repository with the help of conventional apt package manager. It is one of the simplest ways to install the packages but not as flexible as other methods. Moreover, the version installed via repository may lag behind the official project version.
Install through pip: By installing through pip, you can get the latest stable version of the Django. The only drawback it has that it is less flexible.
Install through pip in a Virtual Environment: By using this method, you can create a self-contained virtual environment for your projects without affecting the entire system. The virtual environment can be created by using tools like venv and virtialenv. This method also allows you to make customization as per your project requirements. This is by far the most practical, professional and recommended approach to working with Django.
Development version installed with git: This method is for those who want to install the latest development version instead of the stable release. The latest packages can be acquired from the git repository. The development version might contain a lot of bugs and doesn’t guarantee stability.
Prerequisites
- Ubuntu 16.04 server / 18.04 server
- Root privileges /
sudoprivileges
Also, update your local packages by typing:
sudo apt update
Django source code can be downloaded from its official website.
How to Install Django on Ubuntu
Before we start installing Django on Ubuntu, you must know which version of python you would like to use.
Method #1: Global Install from Packages
For Python 2:
sudo apt-get install python-django
For Python 3:
sudo apt-get install python3-django
Now, you can check the version of python installed on your server by typing:
python --version       #For Python 2
python3 --version      #For Python 3
Since I have Python 3 installed on the server while writing this guide, the output is:
Python 3.6.5
To check the installed Django version, run:
django-admin --version
Output
1.11.11
Method #2: Install through pip
Pip is a package management system for python. The python packages can be downloaded from the central package repository. It is also called as a Python Package Index (PyPI).
In order to install Django from through pip, we first need to install python3-pip package.
For the python 2 users;
sudo apt-get install python-pip
For python 3 users;
sudo apt-get install python3-pip
Next, install Django. For python 2 users by typing:
sudo pip install django
For python 3 users, we will use the pip3 command:
sudo pip3 install django
To verify Django installation, type django-admin --version. Which confirms the successful installation of Django.
Method #3: Install through pip in a Virtual Environment
Installing Django within a virtual environment has always been the most flexible methods. In this method, we will learn how to install Django on Ubuntu in a virtual environment.
Let’s start by refreshing our local package index.
sudo apt update
Check the installed version of Python:
python3 -V
Output
Python 3.6.5
Next, let’s install pip from the official Ubuntu repository.
sudo apt install python3-pip
Once pip is installed, install virtual venv, the environment package:
sudo apt install python3-venv
Now, whenever you want to create a new project, you can create it by creating a virtual environment.
To create a new project, let’s make a new directory called new_django_project by typing:
sudo mkdir new_django_project
Now move inside the Django project directory:
cd new_django_project
Now inside this directory, we can create a virtual environment using the python command that is compatible with the python version. In this example, we will call our virtual environment custom_env. You can name your virtual environment something descriptive.
python3.6 -m venv custom_env
This particular command will install the standalone version of the python and pip inside your project directory. A directory with the chosen name will be created inside your project directory that will contain the hierarchy of your files where the packages will be installed.
Now, in order to install packages inside the virtual environment you must activate it by typing:
source custom_env/bin/activate
Now your command line changes to show that you are in your virtual environment. Your command line show something like:
(custom_env)username@hostname:~/new_django_project$
Now inside your virtual environment, you can use pip to install Django. Regardless of your python version pip should only be called as pip in your virtual environment. Since you are running these commands locally, you do not even need sudo privileges while running these commands.
(custom_env) $ pip install django
Finally, verify your installation by running;
(custom_env) $ django-admin --version
Output
2.1
To exit from your virtual environment, you just need to issue the deactivate command:
(custom_env) $ deactivate
And when you wish to resume the work from where you left, you can again navigate to the Django project directory and issue the activate command to get started with the project.
Method #4: Development version install with git
If you need a development version of Django, you can download and install it directtly from its Git repository.
As usual, let’s start fresh by refreshing the local package index:
sudo apt update
Next, install git. For python 2:
sudo apt-get install git python-pip
For python 3;
sudo apt-get install git python3-pip
Now, check the version of Python you have installed on your server:
python3 -V
Output
Python 3.6.5
Next, clone the Django repository by typing:
git clone git://github.com/django/django ~/django-dev
Now you need to install the cloned repository using pip command. To install it in editable mode, include –e in the command.
For python 2:
sudo pip install -e ~/django-dev
For python 3:
sudo pip3 install -e ~/django-dev
Verify the installation by typing:
django-admin --version
Output:
2.2.dev20180802155335
Alternatively, you can also do this from within a virtual environment.
Firstly, refresh local index package by typing:
sudo apt update
Check the Python version that you have installed on your server:
python3 -V
Output
Python 3.6.5
Now, install pip from the official repository:
sudo apt install python3-pip
Now, install the venv package by typing:
sudo apt install python3-venv
Clone the Django repository from the Git. You can clone the repository within your home directory by the name of ~/django-dev:
git clone git://github.com/django/django ~/django-dev
Now navigate to this directory:
cd ~/django-dev
By using the compatible version installed python, create a virtual environment:
python3.6 -m venv custom_env
Activate it:
source custom_env/bin/activate
Next, install the repository using pip command. Just like a previous example, you can add -e to install in “editable” mode.
pip install -e ~/django-dev
You can verify that the installation was successful by typing:
django-admin --version
Output
2.2.dev20180802155335
You now have the latest version of Django in your virtual environment.
Create a Sample Django Project
We need to use django-admin along with the startproject command to create our first Django project. In this example, we will call our project mysite.
django-admin startproject mysite
This will create a mysite project directory in your current directory. Your directory structure should look like this:
mysite/
    manage.py
    mysite/
        __init__.py
        settings.py
        urls.py
        asgi.py
        wsgi.py
Let’s understand what these files are:
mysite/: It is the root directory of your project. It can be renamed to anything you like.
manage.py: It is a command-line utility that let’s you interact with your Django Project in various ways.
mysite/ (Inner): The inner mysite contains the actual Python package for your project.
mysite/init.py: It is an empty file that tells Python to consider this directory as a Python package.
mysite/settings.py: This file contains the settings and configuration for your Django project.
mysite/urls.py: This file is used to manage URL declarations for your Django project.
mysite/asgi.py: An entry-point for ASGI-compatible web servers to serve your project.
mysite/wsgi.py: An entry-point for WSGI-compatible web servers to serve your project.
Next, migrate the database using migrate command using manage.py.
python manage.py migrate
You will see output something like this:
Operations to perform:
  Apply all migrations: admin, auth, contenttypes, sessions
Running migrations:
  Applying contenttypes.0001_initial... OK
  Applying auth.0001_initial... OK
  Applying admin.0001_initial... OK
  Applying admin.0002_logentry_remove_auto_add... OK
  Applying admin.0003_logentry_add_action_flag_choices... OK
  Applying contenttypes.0002_remove_content_type_name... OK
  Applying auth.0002_alter_permission_name_max_length... OK
  Applying auth.0003_alter_user_email_max_length... OK
  Applying auth.0004_alter_user_username_opts... OK
  Applying auth.0005_alter_user_last_login_null... OK
  Applying auth.0006_require_contenttypes_0002... OK
  Applying auth.0007_alter_validators_add_error_messages... OK
  Applying auth.0008_alter_user_username_max_length... OK
  Applying auth.0009_alter_user_last_name_max_length... OK
  Applying sessions.0001_initial... OK
Now, let’s create an administrative user for our Django admin interface. To do that, run:
python manage.py createsuperuser
Now, command prompt will ask you to enter the username, email address and the password for your user.
Modify ALLOWED_HOSTS in the Django Settings
In order to test our Django project successfully, we need to modify one of the directives in the Django settings.
So open the settings file inside mysite (inner) directory by typing:
sudo vim settings.py
Now locate ALLOWED_HOSTS directive and list the IP address or domain name that you want to associate with your Django project.
ALLOWED_HOSTS = ['ip_address_or_domain_name', 'ip_address_or_domain_name', . . .]
Testing the Development Server
Before you start the development server, make sure that you have allowed the appropriate port in your firewall.
For example, if you have UFW enabled on your server, you need to allow port 8000 by typing:
sudo ufw allow 8000
Once done, you can start the development server by typing:
python manage.py runserver your_server_ip_address:8000
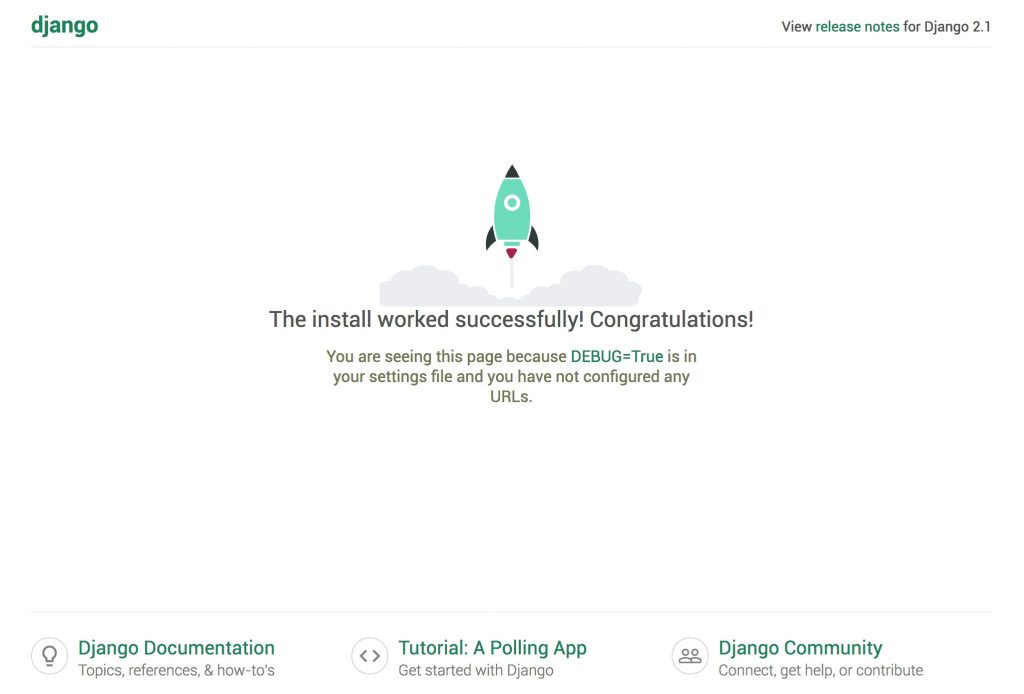
Now, visit the IP address of your server followed by the port number i.e., :8000 in your web browser:http://server_ip_address:8000
You should see something that looks like this:

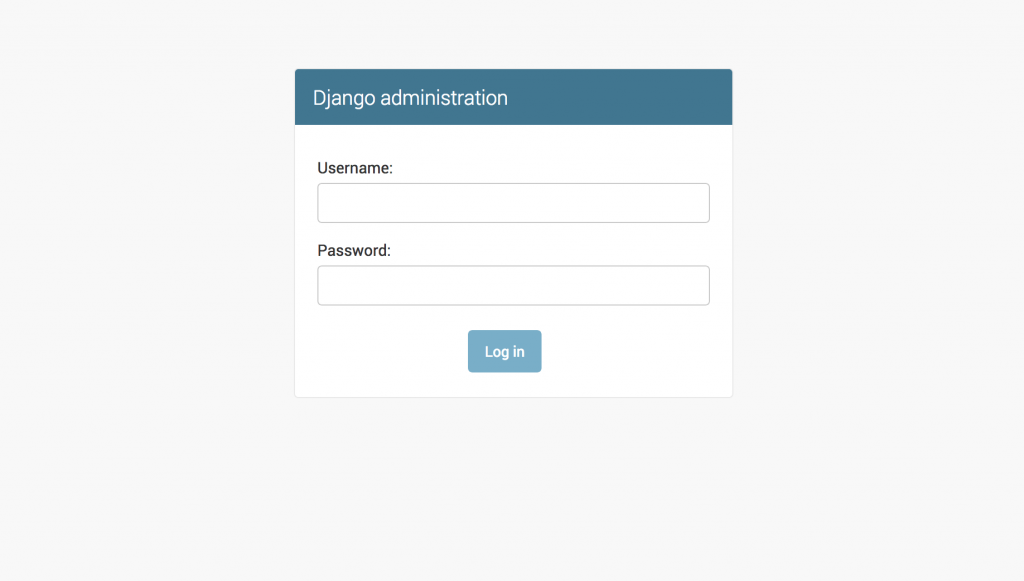
Add /admin/ to the end of your URL to access the admin interface.

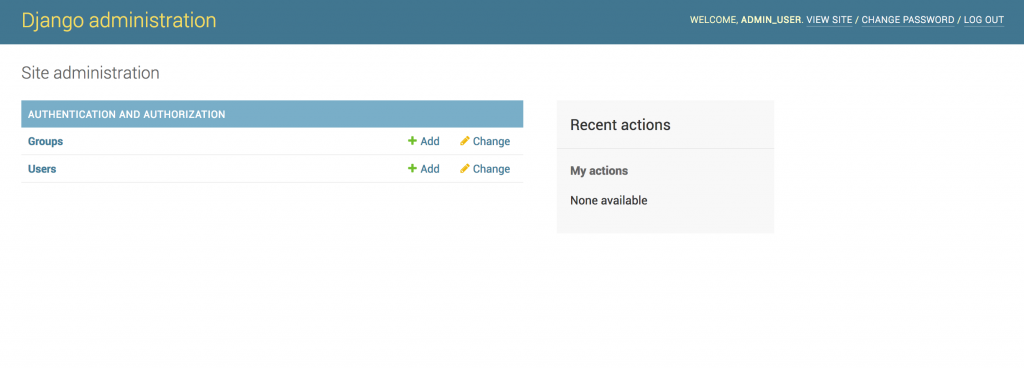
Now enter the admin username and password that you created earlier to login into the admin dashboard.

You may also like: How to Install Angular on Ubuntu: 5 Easy Steps
It confirms the successful installation of Django on Ubuntu server. I hope you will find this tutorial on how to install Django on Ubuntu useful.


Leave a Reply