
How To Install NGINX on Ubuntu 18.04
Nginx is one of the most popular web servers. It is responsible for serving some of the largest websites and web apps on the internet. In this guide, we’ll discuss how to install Nginx on Ubuntu 18.04 server. How To Install NGINX on Ubuntu ...

4 min read
Nginx is one of the most popular web servers. It is responsible for serving some of the largest websites and web apps on the internet. In this guide, we’ll discuss how to install Nginx on Ubuntu 18.04 server. How To Install NGINX on Ubuntu ...
- How To Install NGINX on Ubuntu 18.04
- How to Remove/Uninstall Nginx Web Server?
- Conclusion
Nginx is one of the most popular web servers. It is responsible for serving some of the largest websites and web apps on the internet. In this guide, we’ll discuss how to install Nginx on Ubuntu 18.04 server.
How To Install NGINX on Ubuntu 18.04
Prerequisites
Before writing this tutorial, I consider that you have Ubuntu 18.04 LTS installed on your server. And you have non-root user with sudo privileges configured.
While writing this guide, I'm using Ubuntu 18.04 LTS but this tutorial is also useful for other versions of Ubuntu.
Step 1: Install Nginx
Nginx is available in the default repository of Ubuntu. Which can be installed using apt packaging system.
But before we start installing the Nginx, lets first update the server with local package index so that we can get the access to the latest package listings. To update the server, run:
sudo apt-get update && sudo apt-get upgrade && sudo apt-get dist-upgrade && sudo apt-get autoremove
Afterwards, we can install Nginx by running the following command:
sudo apt-get install nginx
Once you run the above command, apt packaking system will install the Nginx and other dependencies.
Step 2: Adjusting the Firewall
Nowadays, most of the server have firewalls like ufw installed either by default or manually. You need to allow connections to Nginx, if you have ufw installed.
So you can allow connections to Nginx by enabling the port 80 by typing:
sudo ufw allow 'Nginx HTTP'
You may also want to enable connection for port 443 if you have SSL enabled on your website. This can be done by typing:
sudo ufw allow 'Nginx HTTPS'
Once you run all these commands, you can check the status for the change that allows connections to NGINX. This can be done by typing:
sudo ufw status
If everything goes well, you should see the following output that allows traffic for both HTTP (port 80) and HTTPS (port 443).
Status: active
 To                         Action      From
 --                         ------      ----
 22                         ALLOW       Anywhere
 2222                       ALLOW       Anywhere
 Nginx HTTP                 ALLOW       Anywhere
 Nginx HTTPS                ALLOW       Anywhere
 80                         ALLOW       Anywhere
 443                        ALLOW       Anywhere
 22 (v6)                    ALLOW       Anywhere (v6)
 2222 (v6)                  ALLOW       Anywhere (v6)
 Nginx HTTP (v6)            ALLOW       Anywhere (v6)
 Nginx HTTPS (v6)           ALLOW       Anywhere (v6)
 80 (v6)                    ALLOW       Anywhere (v6)
 443 (v6)                   ALLOW       Anywhere (v6)
Step 3 – Checking your Web Server
At the end of the installation process, Ubuntu server starts the Nginx and the web server should already be up and running.
To verify whether the Nginx is working properly or not, run:
systemctl status nginx
It should give you a similar output:
Output
● nginx.service - A high performance web server and a reverse proxy server
   Loaded: loaded (/lib/systemd/system/nginx.service; enabled; vendor preset: enabled)
   Active: active (running) since Fri 2020-02-26 11:27:19 IST; 3 days ago
     Docs: man:nginx(8)
 Main PID: 2369 (nginx)
    Tasks: 2 (limit: 1153)
   CGroup: /system.slice/nginx.service
           ├─2369 nginx: master process /usr/sbin/nginx -g daemon on; master_process on;
           └─2380 nginx: worker process
Now you can enter the IP Address of your server in the browser to the Nginx welcome page.
If you don't have any domain name pointing to your server and don't even know the IP Address, you can find it by typing:
ip addr show eth0 | grep inet | awk '{ print $2; }' | sed 's/\/.*$//'
Alternatively, you can check which IP address is accessible when viewed from the different locations on the internet by running:
curl -4 icanhazip.com
Now enter the IP address of your server in the browser to check whether web server is working properly or not.
https://IP_Address_of_your_Server/
Hit Enter ⏎

You should see the default welcome page of Nginx that confirms the successful installation.
Step 4: Managing the Nginx Process
To stop your web server, type:
sudo systemctl stop nginx
To start the web server, type:
sudo systemctl start nginx
To stop and start the web service, type:
sudo systemctl restart nginx
Nginx have tonnes of awesome features. If you just have made a simple configuration and want to restart the web server without dropping the connections, you can type:
sudo systemctl reload nginx
Nginx is configured to start automatically. Every time you reboot your server, Nginx starts by default. In case, you want to disable this default configuration, you can simply run the disable command:
sudo systemctl disable nginx
To re-enable the service to web server start up at boot, run:
sudo systemctl enable nginx
How to Remove/Uninstall Nginx Web Server?
If you want to keep config files, run:
sudo apt-get remove nginx nginx-common
If you want to completely uninstall the Nginx, run:
sudo apt-get purge nginx nginx-common
After using any of the above commands, you can use the commands below in order to remove dependencies used by Nginx which are no longer required.
sudo apt update
sudo apt upgrade
sudo apt autoremove
Learn more about Starting, Stopping, and Restarting NGINX.
Checkout more resources on Nginx.
Conclusion
You have successfully installed the most powerful Nginx web server.
I hope you would have found this guide on How To Install NGINX on Ubuntu 18.04 useful.
Website Vidya Team
Technology educator and researcher at Website Vidya.
Related Technical Guides
Tested runbooks, server administration walkthroughs, and troubleshooting guides
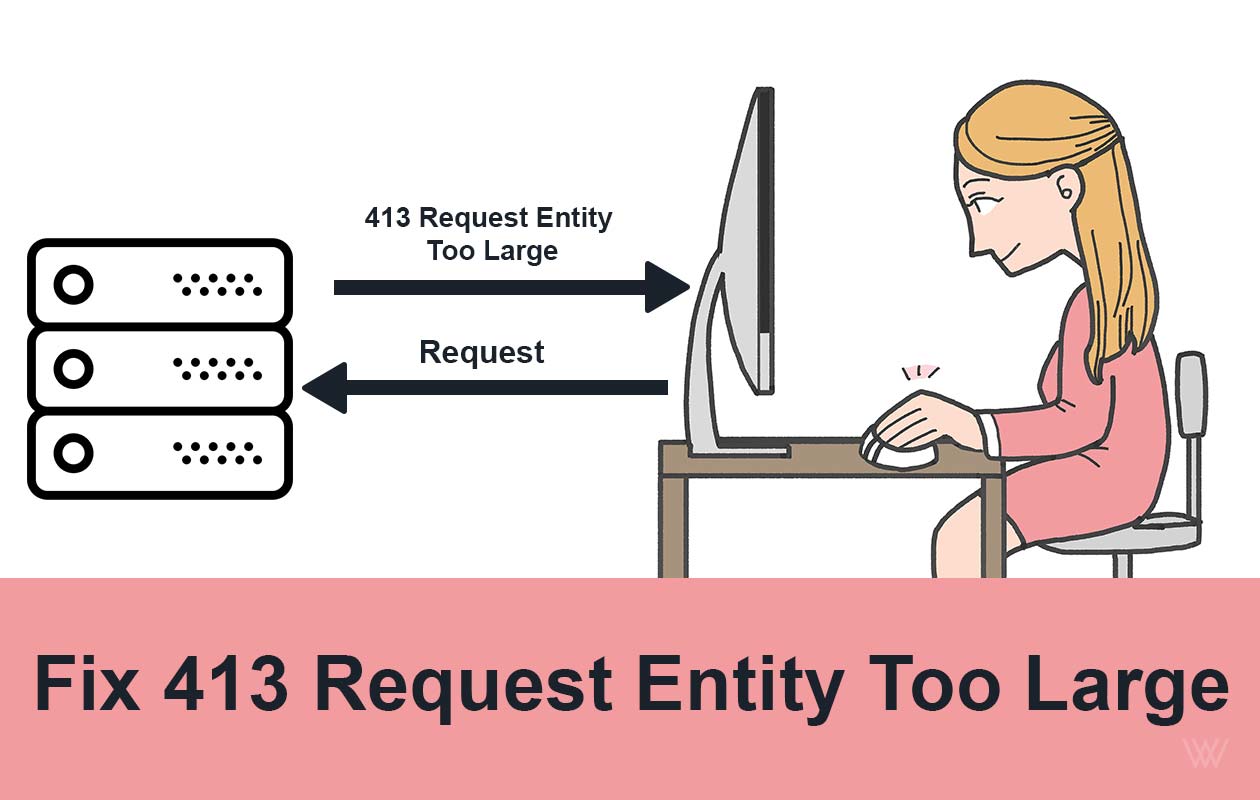
Fix 413 Request Entity Too Large Error on Nginx & Apache
Ever tried uploading a file or submitting a form, only to be greeted by the frustrating 413 Request Entity Too Large error? You’re not alone. This issue commonly pops up when your server thinks the data you’re sending is “too big” to handle...

How to Fix 413 Request Entity Too Large Nginx Ubuntu
How to fix 413 request Entity too large Nginx Ubuntu error? In the high-stakes world of web development and server administration, few errors are as simultaneously straightforward and frustrating as the HTTP 413 "Request Entity Too Large" e...
How to Fix 429 Too Many Requests Nginx Error: 10 Easy Ways
The "429 Too Many Requests Nginx" error is a common issue faced by web administrators and developers. This error occurs when a user sends too many requests to a server in a given amount of time, and the server responds with a 429 status cod...
How to Fix 414 URI Too Large Nginx Error: 8 Easy Steps
The 414 URI Too Large Nginx error is a common issue that occurs when the length of a URL exceeds the default limit set by the Nginx web server. This error can disrupt user experience and prevent access to your website or application. In thi...

How to Fix 404 Not Found Nginx Error: 20 Easy Ways
The "404 Not Found Nginx" error is a common issue that website administrators and developers encounter when using the Nginx web server. This error indicates that the server is unable to locate the requested resource, which could be a webpag...

How to Fix 400 Bad Request Error: 10 Easy Ways
Encountering an HTTP error can be frustrating, especially when the cause is unclear. One such error is the "400 Bad Request Error". This issue typically arises due to client-side problems, including incorrect syntax, invalid requests, or la...

How to Fix Error 520: Web Server Is Returning an Unknown Error
How to Fix Error 520? It's a frustrating and complex error code. It indicates that the web page is not reachable. There could be several reasons behind this error code 520. This article covers, what this error code means, why it occurs and ...

How to Install Lighttpd on Ubuntu 20.04 LTS - 5 Easy Steps
Introduction Lighttpd is a free, open-source web server which is also known as Lighty. It is a fast, secure, compliant, and extremely flexible webserver optimized for speed. Compared to other web-servers, Lighttpd consumes very less server ...

How to Increase File Upload Size in Nginx - 3 Simple Steps
By default, the maximum file upload size in NGINX is 1MB. If a user tries to upload a file bigger than this, the Nginx throws a “ 413 Request Entity Too Large ” error. So in this tutorial, we will learn how to increase file upload size in N...

How to Install Nginx on CentOS 7: 4 Easy Steps
Nginx is a high performance web server software. Many big brands like Google, Facebook, Microsoft, Apple, Yahoo! and LinkedIn prefers Nginx over Apache and any other web server. And why not, it is the most flexible and lightweight web serve...
Discussion
0No comments on this guide yet. Be the first to share your thoughts or ask a question!