
How to Install Vagrant on Ubuntu 24.04
Complete tutorial to install Vagrant on Ubuntu 24.04 LTS using official HashiCorp repositories, with VirtualBox provider and Vagrantfile workflows.

6 min read
Complete tutorial to install Vagrant on Ubuntu 24.04 LTS using official HashiCorp repositories, with VirtualBox provider and Vagrantfile workflows.
- Prerequisites and Supported Releases
- Step 1: Verifying Hardware Virtualization Support
- Step 2: Installing Foundational Networking and GPG Tools
Software development environments frequently suffer from configuration drift and the notorious 'it works on my machine' paradox. When you install vagrant on ubuntu 24.04, you deploy HashiCorp's industry-standard workflow automation tool that enables developers to define, share, and spin up complete virtualized operating systems with a single declarative configuration file.
While Ubuntu's default universe repository provides a community Vagrant package, distribution builds are often outdated and suffer from compatibility issues with modern VirtualBox releases. Installing Vagrant directly from HashiCorp's official signed APT repository guarantees that you receive the latest binary releases, security patches, and support for contemporary hypervisor providers.
Vagrant pairs seamlessly with popular configuration management tools such as Ansible, Puppet, and Chef, allowing automated provisioning of web servers, database clusters, and microservice meshes inside reproducible virtual machines before deploying code to production clouds.
In this step-by-step tutorial, you will configure HashiCorp's cryptographic keyrings, register the official APT repository, install Vagrant and VirtualBox, initialize an isolated virtual machine workspace, customize resource allocation in a Vagrantfile, and execute foundational lifecycle operations (up, ssh, halt, and destroy).
Prerequisites and Supported Releases
This guide is thoroughly verified on Ubuntu 24.04 LTS (Noble Numbat). The instructions apply cleanly to cloud instances (AWS EC2, Google Compute Engine, DigitalOcean, Hetzner), bare-metal servers, and local virtual machines.
Before proceeding, ensure you have the following requirements satisfied:
- A desktop or server running Ubuntu 24.04 LTS (64-bit x86_64 architecture).
- Hardware virtualization (Intel VT-x or AMD-V) enabled in your system BIOS/UEFI.
- A user account with active sudo administrative privileges.
- At least 8 GB RAM and 20 GB free disk space for hosting virtual machine disks.
Step 1: Verifying Hardware Virtualization Support
Vagrant orchestrates underlying hypervisors (such as VirtualBox or KVM). Before installing virtualization software, ensure that your CPU supports hardware virtualization (Intel VT-x or AMD-V) and that it is enabled in your computer's BIOS/UEFI firmware.
Run the following command in your terminal. A return count greater than 0 confirms hardware virtualization is active.
If the output returns 0, enter your motherboard BIOS/UEFI firmware settings and enable virtualization extensions before proceeding.
# Check for Intel (vmx) or AMD (svm) virtualization flags
egrep -c '(vmx|svm)' /proc/cpuinfo
Step 2: Installing Foundational Networking and GPG Tools
To fetch HashiCorp's official GPG signing key and configure secure APT downloads over HTTPS, install curl, ca-certificates, and gnupg.
Refresh your APT package database and install these prerequisite utilities.
These utilities guarantee secure cryptographic certificate verification and prevent man-in-the-middle network attacks during package downloads.
# Refresh package repository index
sudo apt update && sudo apt upgrade -y

# Install networking and key management tools
sudo apt install -y curl ca-certificates gnupg software-properties-common
Step 3: Configuring the Official HashiCorp GPG Keyring
In modern Ubuntu releases like Ubuntu 24.04 LTS, third-party repository keys should be stored in /etc/apt/keyrings/ with read-only permissions (0644).
Download HashiCorp's official public GPG key, de-armor it, and store it in /etc/apt/keyrings/hashicorp.gpg.
This ensures that APT can cryptographically verify that all downloaded packages originate directly from HashiCorp's official release engineers.
# Create keyrings directory if it does not already exist
sudo install -m 0755 -d /etc/apt/keyrings

# Download and de-armor HashiCorp official signing key
curl -fsSL https://apt.releases.hashicorp.com/gpg | sudo gpg --dearmor -o /etc/apt/keyrings/hashicorp.gpg
sudo chmod a+r /etc/apt/keyrings/hashicorp.gpg
Step 4: Adding the Official HashiCorp APT Repository
Create a dedicated source list entry at /etc/apt/sources.list.d/hashicorp.list referencing the cryptographic keyring via the signed-by attribute.
Write the source repository configuration using the following command:
Updating your package index immediately registers HashiCorp's software catalog with your local APT database.
# Add HashiCorp official repository source entry
echo "deb [signed-by=/etc/apt/keyrings/hashicorp.gpg] https://apt.releases.hashicorp.com $(lsb_release -cs) main" | sudo tee /etc/apt/sources.list.d/hashicorp.list

# Update package index to register HashiCorp packages
sudo apt update
Step 5: Installing Vagrant via APT
Once the repository is updated, install the official vagrant package. APT fetches the verified binary and installs the command-line utility into /usr/bin/vagrant.
Verify the installed version once installation completes.
The version output confirms that the Ruby-based CLI wrapper and core plugin framework are operating properly.
# Install Vagrant from HashiCorp repository
sudo apt install -y vagrant

# Verify installed version
vagrant --version
Step 6: Installing VirtualBox Provider
Vagrant acts as a control plane for virtual machines but requires a virtualization provider to actually run them. Oracle VirtualBox is the default and most widely supported provider.
Install VirtualBox and its kernel module packages using APT.
Dynamic Kernel Module Support (DKMS) automatically recompiles VirtualBox host kernel drivers whenever Ubuntu applies Linux kernel updates.
# Install VirtualBox and dkms kernel module support
sudo apt install -y virtualbox virtualbox-dkms
Step 7: Initializing Your First Vagrant Project
Create a dedicated directory for your virtual machine project and initialize a standard Ubuntu 22.04 LTS (Jammy) cloud image box.
The vagrant init command generates a template configuration file named Vagrantfile in your working directory.
This file defines your virtual machine's operating system, network topology, shared folders, and provisioning scripts.
# Create project directory
mkdir -p ~/my-vagrant-vm && cd ~/my-vagrant-vm

# Initialize a project using official Ubuntu 22.04 LTS cloud box
vagrant init ubuntu/jammy64
Step 8: Customizing the Vagrantfile Configuration
Open the generated Vagrantfile to inspect or customize your VM's resources. You can configure CPU cores, allocated memory, port forwarding, and synced folders.
Here is a clean, production-ready Vagrantfile example allocating 2 GB RAM and forwarding guest web traffic to host port 8080:
Saving this configuration establishes reproducible machine parameters that any teammate can clone and execute.
Vagrant.configure("2") do |config|
  config.vm.box = "ubuntu/jammy64"

  # Port forwarding: Guest port 80 to Host port 8080
  config.vm.network "forwarded_port", guest: 80, host: 8080

  # VirtualBox resource allocation
  config.vm.provider "virtualbox" do |vb|
    vb.name = "ubuntu-dev-node01"
    vb.memory = "2048"
    vb.cpus = 2
  end
end
Step 9: Managing the Virtual Machine Lifecycle
Vagrant simplifies complex hypervisor management into four primary commands:
1. vagrant up: Downloads the base image (if not already cached) and provisions the VM.
2. vagrant ssh: Opens an authenticated SSH terminal session directly into the running guest VM.
3. vagrant halt: Gracefully powers down the virtual machine.
4. vagrant destroy -f: Deletes the virtual machine disk images and releases all allocated storage.
These commands allow developers to tear down and rebuild pristine development environments in seconds.
# Start and provision the virtual machine
vagrant up

# SSH directly into the guest VM
vagrant ssh

# (Inside the VM) Check hostname and kernel version, then exit
uname -a
exit

# Gracefully shut down the VM
vagrant halt

# Delete the VM when no longer needed
vagrant destroy -f
Troubleshooting and Common Errors
When configuring Ubuntu servers, unexpected permission errors, network timeouts, or lock contention can occur. Review these common issues and verified resolutions:
vagrant up fails with: 'VirtualBox is complaining that the kernel module is not loaded'
Resolution: Recompile the VirtualBox kernel modules using sudo /sbin/vboxconfig. If Secure Boot is enabled, enroll the MOK key generated during VirtualBox installation or temporarily disable Secure Boot in UEFI firmware.
VT-x/AMD-V hardware acceleration is not available
Resolution: Reboot your physical computer into BIOS/UEFI firmware settings and enable Intel Virtualization Technology (Intel VT-x) or AMD-V / SVM Mode.
Guest additions version mismatch warning on boot
Resolution: Install the Vagrant vbguest plugin to automatically keep VirtualBox Guest Additions updated: vagrant plugin install vagrant-vbguest.
Security Best Practices and Hardening
Always store HashiCorp's repository GPG key in /etc/apt/keyrings/ to prevent repository interception.
Be cautious when using community boxes from Vagrant Cloud (app.vagrantup.com); favor official verified publisher boxes (such as ubuntu/ or debian/).
Avoid committing sensitive credentials or private SSH keys into version-controlled Vagrantfile scripts.
Ensure host-only private network ranges do not conflict with local physical network subnets.
Related Ubuntu Tutorials and Documentation
Deepen your Linux system administration skills with our related production-tested guides:
- How to Install and Configure KVM on Ubuntu 24.04 — Explore enterprise kernel-based virtual machines alongside Vagrant workflows.
- How to Install Docker on Ubuntu 24.04 — Compare containerization approaches with full virtual machine environments.
- Initial Server Setup on Ubuntu 24.04 — Configure foundational security, firewall, and sudo users on Ubuntu.
Authoritative References and Official Documentation
Frequently Asked Questions
Quick answers to common questions and configurations
vagrant-libvirt plugin using vagrant plugin install vagrant-libvirt to utilize native Linux KVM virtualization.~/.vagrant.d/boxes/ so subsequent VM initializations do not require re-downloading disk images.Rajesh Ray
I’m Rajesh Rai, a full-stack developer, Linux administrator, and technology enthusiast passionate about making complex technology easier to understand and use.
Related Technical Guides
Tested runbooks, server administration walkthroughs, and troubleshooting guides

How to Install R on Ubuntu 24.04
Step-by-step guide to install R on Ubuntu 24.04 LTS from the official CRAN repository, configure build toolchains, and install statistical packages.

How to Install PDO Extension in PHP
PHP Data Objects (PDO) is one of the most important extensions in PHP for working with databases in a secure, consistent, and modern way. If you are building dynamic websites, APIs, CMS platforms, or enterprise applications, PDO is not opti...

How To Run XAMPP and IIS Together On the Same Machine
How to run XAMPP and IIS together on the same machine? Well, working together on both IIS & XAMPP can really be a tricky task for beginners. The main aim of this article is to help beginners to get XAMPP Apache Server and IIS server works t...

15+ Best Websites for Free Stock Videos (2026)
In 2026, high-quality visual content remains the backbone of successful digital storytelling, marketing, and online engagement. Whether you’re a filmmaker, YouTuber, digital marketer, business owner, or student, access to free stock videos ...
How To Install Nginx on Ubuntu Server: 4 Simple Steps
This guide covers an easy to follow, step-by-step guide on how to install Nginx on Ubuntu Server 18.04 LTE, 16.04, and 14.04. While writing this tutorial I used Ubuntu 18.04 LTE though these resources in the tutorial are useful in installin...

How to Create a Sticky Navbar in HTML & CSS: 2 Easy Steps
Creating a sticky navbar is a simple yet highly effective way to enhance the user experience of your website. A sticky navbar stays visible at the top of the page as users scroll down, providing easy access to navigation links without requi...
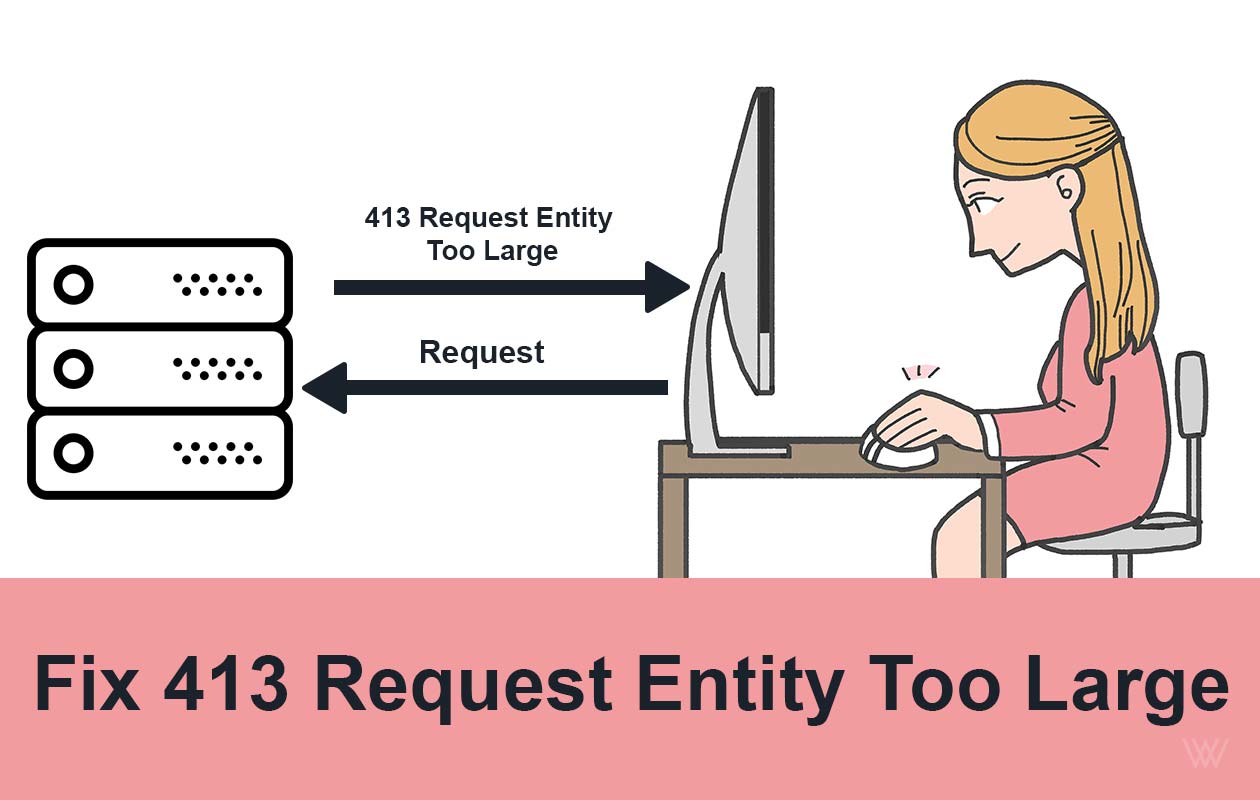
Fix 413 Request Entity Too Large Error on Nginx & Apache
Ever tried uploading a file or submitting a form, only to be greeted by the frustrating 413 Request Entity Too Large error? You’re not alone. This issue commonly pops up when your server thinks the data you’re sending is “too big” to handle...

How to Fix Failed to Initialize Plugin: wplink in WordPress
If you’ve ever tried adding a link inside the WordPress editor and been greeted by the error “Failed to initialize plugin: wplink” , you already know how disruptive it can be. The link button stops working, the editor feels broken, and sudd...
25 Best Linux Commands Every Sysadmin Should Know
If you’ve spent any time managing Linux servers, you already know this truth: the command line is not optional. It’s where real troubleshooting happens, where performance issues are understood, and where outages are prevented before users e...

How to Fix Snapd Consuming High CPU / RAM on Linux
If you’ve ever opened your system monitor and noticed snapd quietly eating up your CPU or RAM, you’re not alone. Many Linux users—especially on Ubuntu and Ubuntu-based distributions—eventually run into this issue and wonder what’s going on ...
Join the Conversation & Perspective
Have thoughts, counterpoints, or reflections on this story? Engage directly with fellow readers and editorial contributors.
No comments on this guide yet. Be the first to share your thoughts or ask a question!